Knit Counter
- Projects
- The Project List
- Project Counters
- Project Info
- Advanced Features
- Linked Counters
- Increase/Decrease Markers
- Settings
- Settings
Projects — Counters
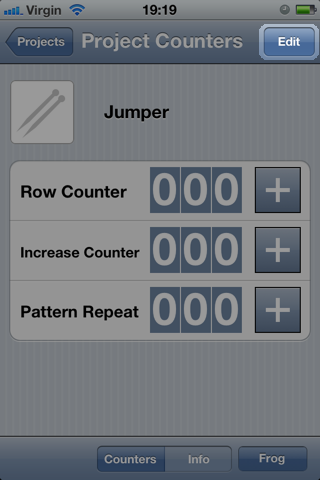
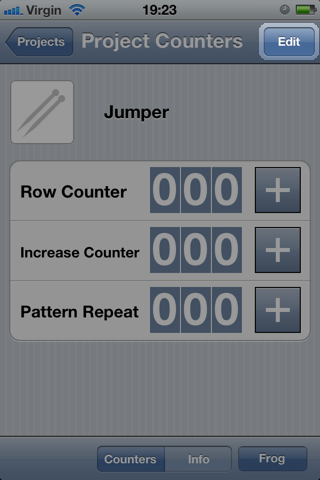
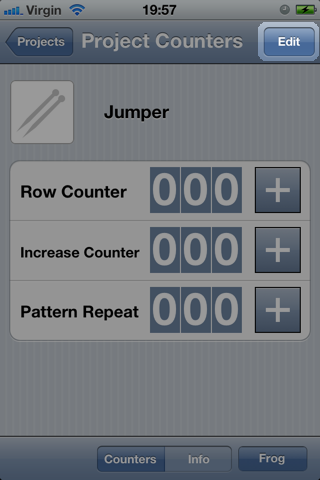
The project counter screen is the central feature of Knit Counter. It provides a view of the selected project and its counters and it's probably where you'll spend most of your time with Knit Counter. Counters are created, edited and deleted from the project counter screen.
Project Counter Tasks:
- Incrementing counters
- Frogging
- Editing a project's name
- Adding a counter
- Editing a counter
- Editing a counter's name
- Editing a counter's value
- Editing a counter's minimum and maximum values
- Deleting a counter
- Re-ordering counters
- Deleting a project
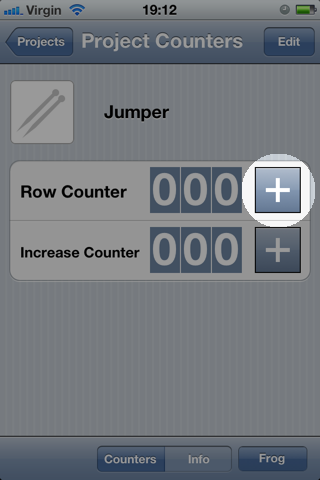
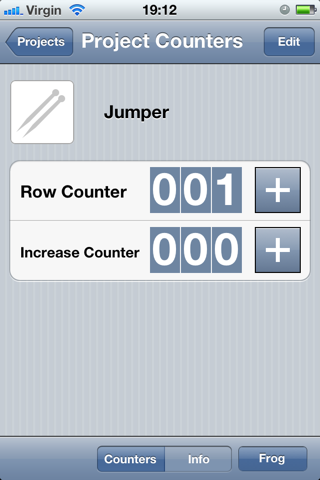
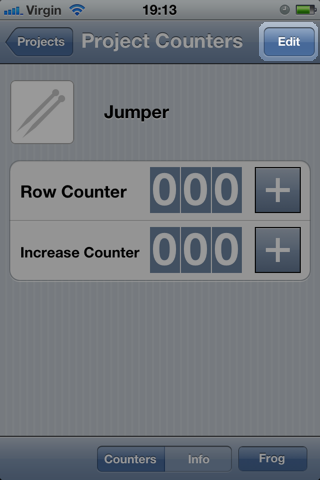
Incrementing counters
-
To increment a counter, tap on its plus button.
-
The counter's value will increase by one for every tap. Simple!
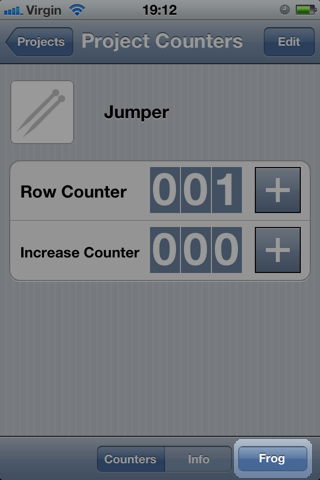
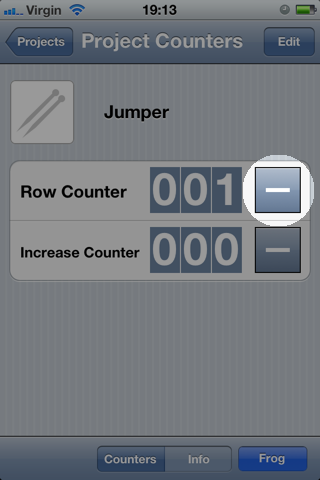
Frogging
-
If you need to rip back rows, tap and hold the "Frog" button.
-
You'll notice that all of your counter's plus buttons have magically become minus buttons.
-
Tap a counter's minus button to decrement it by one. Easy!

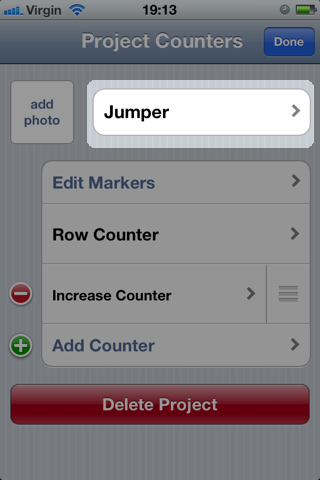
Editing a project's name
-
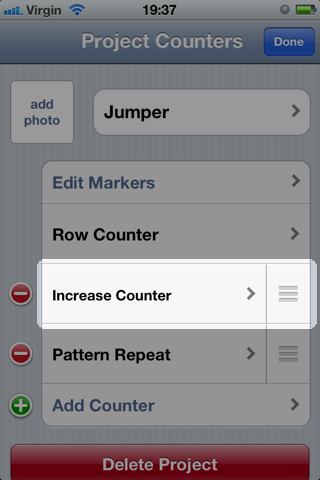
Firstly you have to be in Edit mode. Tap the "Edit" button in the top right corner of the screen.
-
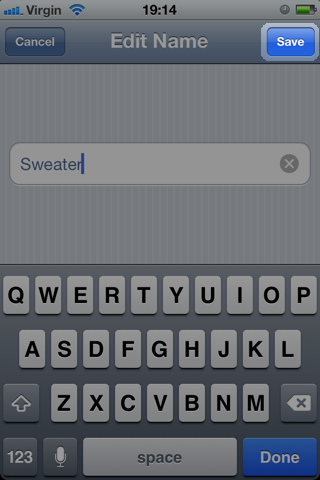
Tap the project name to edit it.
-
Enter the project's new name, then tap "Save" when you're done and you'll be taken back to the project page.
-
Tap the "Done" button to exit editing mode.
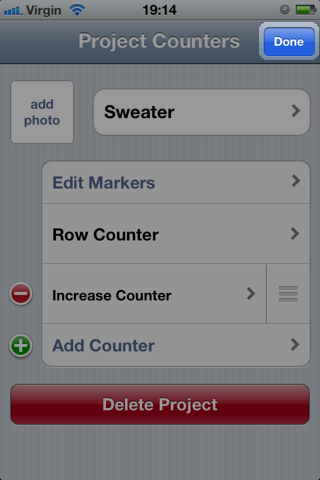
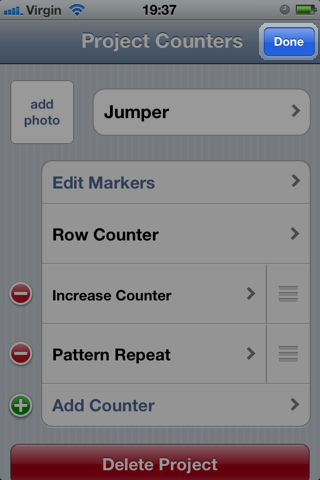
Adding a counter
-
Firstly you have to be in Edit mode. Tap the "Edit" button in the top right corner of the screen.

-
Tap the "Add Counter" row.
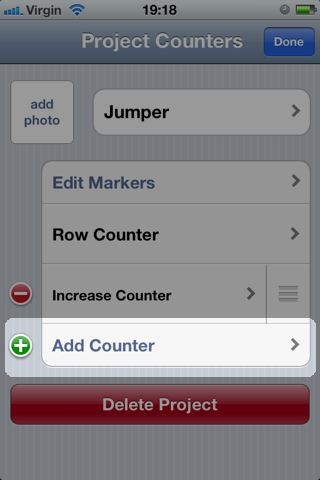
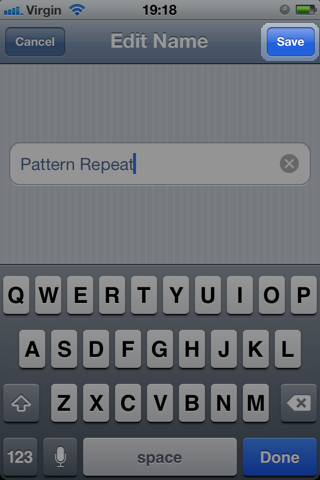
-
Enter the counter's name and tap "Save" when you're done. You'll be taken back to the project page.
-
Tap the "Done" button to exit editing mode.
Editing a counter
-
Firstly you have to be in Edit mode. Tap the "Edit" button in the top right corner of the screen.
-
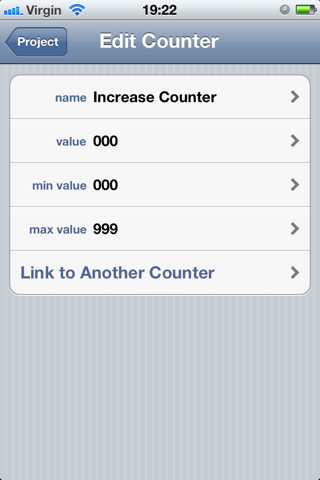
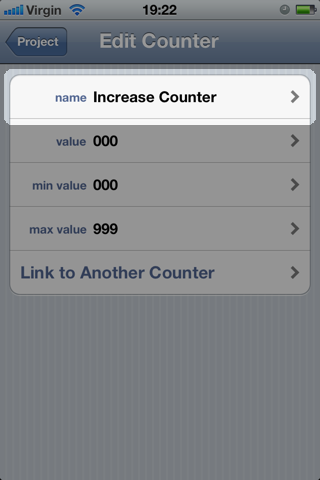
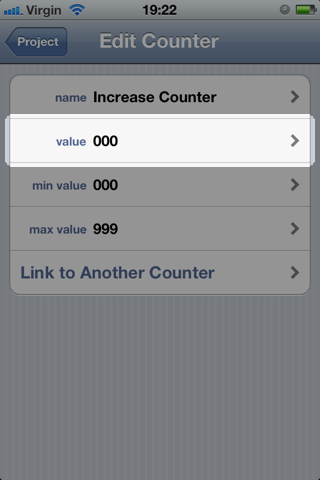
Tap a counter to edit it.
-
From this screen you can choose to edit the counter's name, value, minimum and maximum values, or link to another counter. The first three options are discussed below. You can read about linking to another counter in the linked counter section of the documentation.
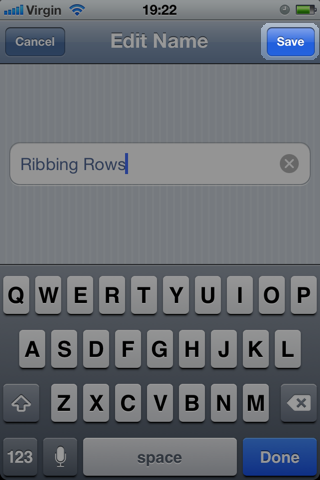
Editing a counter's name
-
Follow the instructions above to edit a counter, then tap the name row.
-
Enter the counter's name and tap "Save" when you're done. You'll be taken back to the counter editor page. From here you can use the navigation button in the top left corner of the screen to return to the project page. Note that you cannot edit the row counter's name.
Editing a counter's value
-
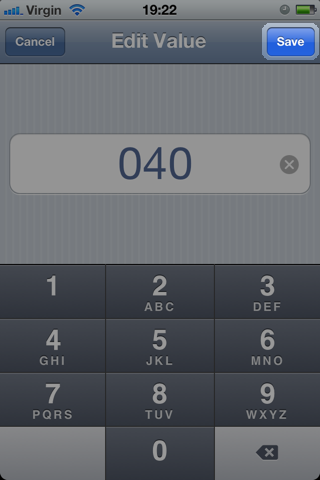
Follow the instructions above to edit a counter, then tap the value row.
-
Enter a value for the counter and tap "Save" when you're done. You'll be taken back to the counter editor page. From here you can use the navigation button in the top left corner of the screen to return to the project page. Note that you can quickly reset a counter to zero by tapping the clear button to the right of the input area.
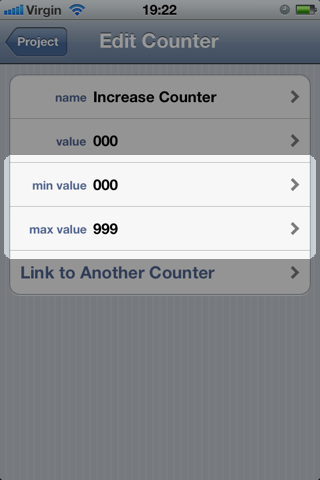
Editing a counter's minimum and maximum values
-
Setting a minimum or maximum value for a counter allows you to set upper and lower limits on the counter's value. New counters are created with a minimum value of 0 and a maximum value of 999. To set a lower or upper limit, follow the instructions above to edit a counter, then tap either the min value or max value row.
-
Enter a value for the limit and tap "Save" when you're done. You'll be taken back to the counter editor page. From here you can use the navigation button in the top left corner of the screen to return to the project page. Note that you can quickly reset a counter's minimum or maximum value by tapping the clear button to the right of the input area.

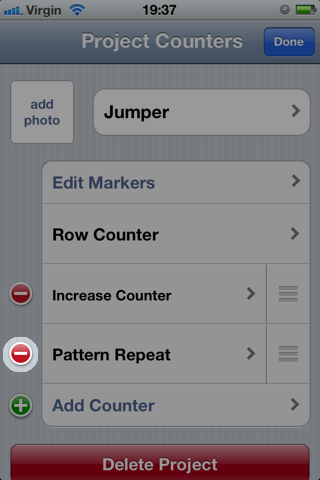
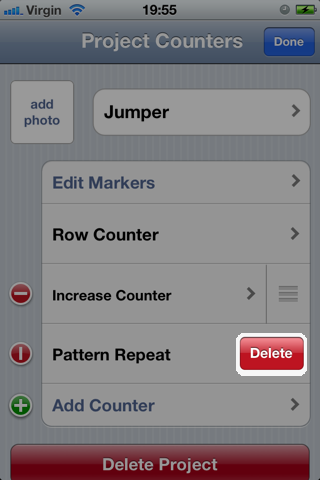
Deleting a counter
-
Firstly you have to be in Edit mode. Tap the "Edit" button in the top right corner of the screen.
-
Tap the red delete icon to the side of the counter.
-
Tap the "Delete" button to confirm the deletion. Note that the row counter cannot be deleted.
-
Tap the "Done" button to exit editing mode.

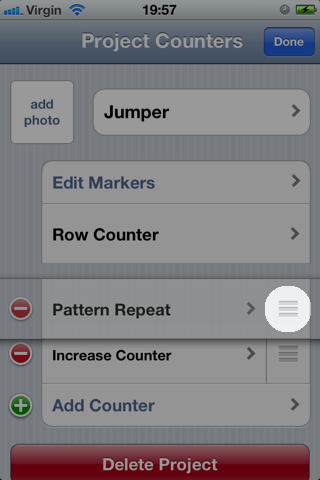
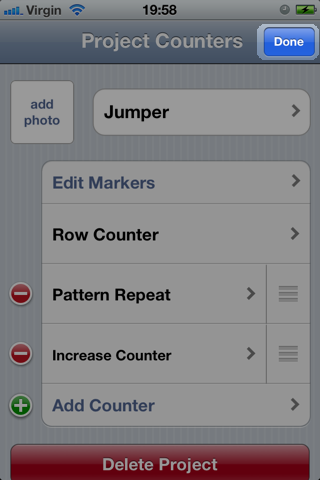
Re-ordering counters
-
Firstly you have to be in Edit mode. Tap the "Edit" button in the top right corner of the screen.
-
Counters can be re-ordered by dragging them by the re-ordering handle on their right side. Note that the Row Counter cannot be moved.
-
Tap the "Done" button to exit editing mode.
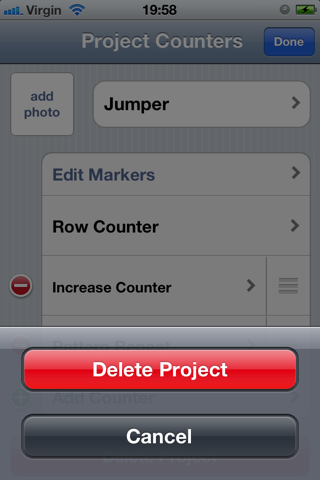
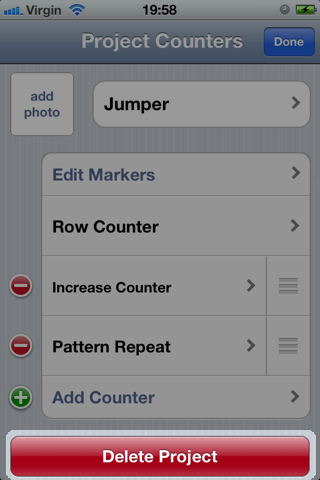
Deleting a project
-
Firstly you have to be in Edit mode. Tap the "Edit" button in the top right corner of the screen.

-
Tap the "Delete Project" button at the bottom of the screen.
-
Tap "Delete Project" to confirm the deletion. You'll be taken back to the Project List.